Setting up Windows on modern systems needs special care. NVMe drives and RAID arrays often need extra drivers at the start.
The Intel Rapid Storage Technology driver is key for these cases. Without it, your storage might not show up in Windows setup, stopping you in your tracks.
This guide shows how to get and use the software via USB. By following these steps, your hardware will be recognised during OS setup.
Dell users can find extra help in their official support documentation. The steps are detailed but lead to reliable results if done right.
We’ll cover every step, from getting the driver to making it work. Getting ready properly avoids the hassle of unrecognised drives during important setup times.
Understanding Intel Rapid Storage Technology and Its Importance
Intel Rapid Storage Technology is a big step forward in computer storage. It helps make storage faster and safer for many setups.
https://www.youtube.com/watch?v=g0ZjabvtBsg
What is Intel RST?
Intel RST is a smart way to manage storage. It makes your computer run better and keeps your data safe. It works in two main ways: AHCI for single drives and RAID for multiple ones.
This tech offers many benefits:
- It makes data move faster with disk striping
- It keeps your data safe with redundancy
- It makes your computer more responsive under heavy use
- It supports different storage setups, like SSD caching
For computers with many drives, Intel RST lets you set up advanced RAID configurations. This means you can either speed up your storage or keep your data safe – or both at once.
Why Install Intel RST Driver via USB?
Installing the Intel RST driver via USB is key in some cases. It’s especially useful when setting up new hardware.
Systems with NVMe support often need this driver during Windows setup. Without it, the setup might not see your storage drives, stopping the OS install.
USB installation is also crucial when:
- Systems don’t have built-in drivers for certain storage controllers
- You need to set up complex RAID setups before installing the OS
- You’re facing storage recognition problems during setup
- You need to update drivers but can’t connect to the internet
This method makes sure your storage works perfectly right from the start of the OS install.
Prerequisites for Installing Intel RST Driver via USB
Before you start installing the Intel RST driver, make sure you have everything you need. Getting ready right can avoid problems and make the process easier. Here’s what you need to check.

Required Hardware and Software
Having the right stuff is key for a successful install. You’ll need a few specific items for the USB method.
Here’s what you’ll need:
| Component | Specification | Purpose |
|---|---|---|
| USB Drive | Minimum 4GB capacity, formatted to FAT32 | Storage and transfer of driver files |
| Internet Connection | Stable broadband recommended | For driver download from Intel’s website |
| Computer Access | Windows or macOS system | For downloading and preparing files |
| Intel RST Driver | Version 17.5 or newer | Core software component for installation |
Make sure your USB drive has enough space and is formatted right. You’ll need a good internet connection to download the driver from Intel’s site.
Checking Your System Compatibility
It’s important to check if your system can handle the driver. The wrong hardware is a common cause of problems.
Look up your motherboard’s chipset model in Device Manager or system tools. Make sure your storage supports RAID or AHCI, as Intel RST needs.
Check your motherboard’s specs for compatibility details. This step makes sure your hardware works well with the Intel RST driver.
Always get the latest driver from Intel’s site. This ensures the best performance and fixes any issues with your hardware.
How to Download the Correct Intel RST Driver
Finding the right Intel Rapid Storage Technology driver is key to your system’s top performance. The process has three main steps. These steps ensure your driver matches your hardware perfectly.
Identifying Your Intel Chipset Model
Start by finding your chipset model in Windows System Information. Press Windows Key + R, then type “msinfo32”. Look for the “System Model” entry.
Or, use Device Manager by right-clicking the Start button. Expand “System devices” to see your chipset details. This step stops you from installing drivers that might harm your system.
Navigating the Intel Download Centre
The Intel Download Centre is the best place for genuine drivers. Go there from Intel’s support website, not from other sites.
Search with your chipset model number for accurate results. Use filters like product type, operating system, and driver category to find what you need.
Selecting the Appropriate Driver Version
Pick drivers made for Intel Rapid Storage Technology, not generic ones. Version 17.5 or newer is best for NVMe support and better performance.
When downloading, choose “Extract” instead of “Install”. This makes a folder with all files ready for USB transfer, without installing on your system yet.
| Driver Version | Key Features | Compatibility Notes |
|---|---|---|
| 17.5 and above | Full NVMe support, RAID optimisation | Windows 10/11 64-bit systems |
| 15.0-17.4 | Basic AHCI support, legacy RAID | Older Windows versions |
| 14.x and earlier | Limited feature set | Legacy systems only |
Always check the digital signature and release date before installing. Newer drivers usually work better with modern storage and offer more security.
Preparing a USB Drive for Driver Installation
Before you can install the Intel RST driver during Windows setup, you need to prepare your USB drive. This step is key to accessing the driver files when needed. You must format the USB drive correctly and extract the driver files for a smooth installation.
Choosing the Right USB Drive and Formatting It
Choose a USB drive with at least 4GB capacity for the driver files. While bigger drives are fine, avoid using drives under 4GB as they’re too small.
Plug in your USB drive to a working computer. Then, format it using these steps:
- Open File Explorer and right-click on your USB drive
- Select “Format” from the context menu
- Choose either FAT32 or NTFS file system
- Ensure “Quick Format” is selected
- Click “Start” to begin the formatting process
FAT32 is good for most systems, but NTFS supports bigger files. For Intel RST, FAT32 is usually enough.

Transferring the Intel RST Driver to the USB
After downloading the Intel RST driver, you must extract the files. This step prepares the files for installation during Windows setup.
Here’s how to extract the driver:
- Double-click the downloaded .exe file to launch the extraction tool
- When prompted, choose your formatted USB drive as the destination
- Ensure you select “Extract” rather than “Install”
- Wait for the extraction process to complete
- Verify the driver files appear on your USB drive
The extracted files include .inf, .sys, and .cat files needed for installation. Your USB drive is now ready for the Intel RST driver installation.
Configuring BIOS/UEFI Settings for Driver Installation
Setting up BIOS/UEFI settings is key for installing Intel RST drivers via USB. These settings help your system find storage devices and decide what to boot first. Getting them right lets your system find the driver files during Windows setup.
Accessing BIOS/UEFI on Your System
To get into your computer’s BIOS/UEFI, you need to press certain keys when it starts. Common keys are F2, Del, or Esc, but it depends on who made your computer. You must press the key over and over again right after turning on your device.
Modern computers start up fast, so you might miss the prompt. If you do, just restart and try again. Some computers show logos that tell you which key to press.
| Manufacturer | Common BIOS Keys | Alternative Keys |
|---|---|---|
| Dell | F2 | F12 (Boot Menu) |
| HP | Esc, then F10 | F9 (Boot Menu) |
| Lenovo | F1 or F2 | Enter then F1 |
| ASUS | Del or F2 | F8 (Boot Menu) |
| ACER | F2 or Del | F12 (Boot Menu) |
Modifying Storage and Boot Settings
Inside BIOS/UEFI, go to the storage settings. Look for the SATA operation mode, usually under Advanced or Storage tabs. Change it to AHCI or RAID based on your setup.
Then, change the boot order to allow USB booting. Go to the Boot tab and put USB devices at the top. Make sure secure boot is off if you’re using old installation media.
Save your changes and exit using the right key (usually F10). Your system will restart with the new settings. These BIOS tweaks are crucial for driver recognition during Windows setup.
How to Install Intel Rapid Storage Technology Driver on USB During Windows Setup
When setting up Windows on systems with Intel storage, you might hit a snag. The setup can’t find your storage drives if the Intel RST drivers are missing. To fix this, you need to load these drivers during the Windows setup.
Booting from Windows Installation Media
Start by putting in your Windows USB or DVD and restarting. Press F12, Esc, or another key to get to the boot menu. Choose the Windows media to start the setup.
When you can’t see your drives, it’s time to add the Intel RST driver. This lets Windows see and talk to your storage controller.
Loading the Driver from USB When Prompted
At the “Where do you want to install Windows?” screen, if no drives show, you need to add the Intel RST driver. This is because Windows can’t find your storage without the right drivers.
Step 1: Insert the USB Drive During Windows Setup
When the screen is empty, click “Load Driver” below the list. Make sure your USB with the Intel RST driver files is in a port. Windows should find the USB.
Use USB 2.0 ports if you can. They work better in the setup phase. Don’t use USB hubs and plug directly into motherboard ports for best results.
Step 2: Browse to the Driver Location on the USB
After clicking “Load Driver,” a window opens. Go to your USB and find the Intel RST driver folder. It should have the iaStorAC.inf file and other drivers.
If you have different driver versions, pick the right one for your chipset and Windows. The folder should have an INF file for Windows to install the driver.
Step 3: Select and Load the Intel RST Driver
Choose the iaStorAC.inf file or the right INF file for your controller. Click “OK” to start the driver installation. Windows will then install the needed components.
Once installed, your drives should show up. You can then set up partitions and finish the Windows installation. This ensures your storage works right during and after setup.
The driver you load is only for the setup. The final driver installation will happen after Windows is installed. This can be through Windows Update or by installing from your USB drive.
Installing Intel RST Driver on an Existing Windows System
If your Windows system is already set up, you might need to install or update the Intel Rapid Storage Technology driver. This is helpful when you add new storage or fix performance problems without a full system reinstall.
Using Device Manager to Update Drivers
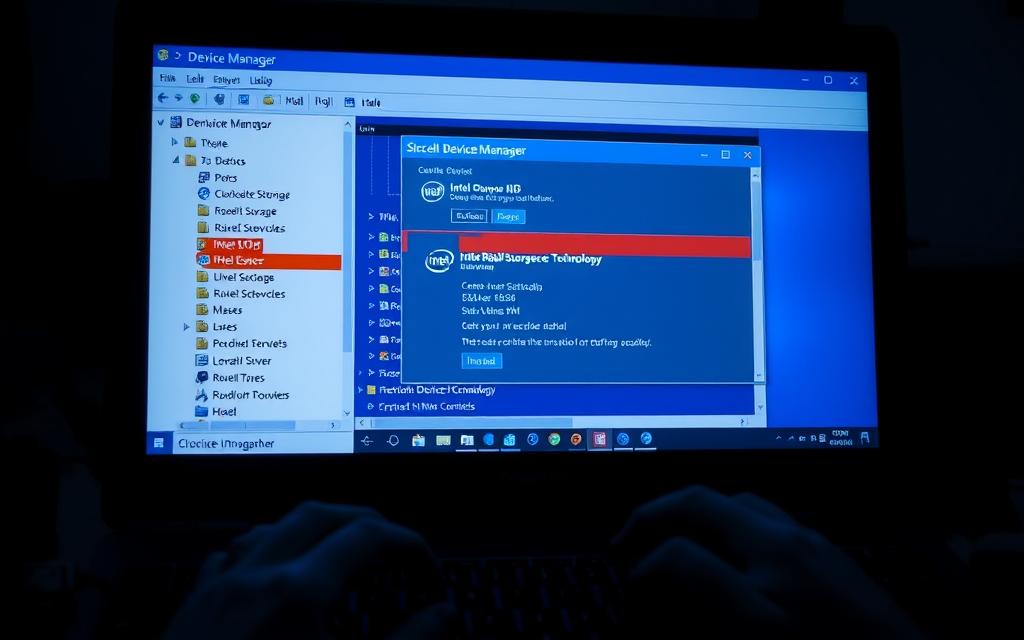
Windows Device Manager is a simple way to install drivers. It automatically finds your hardware and the right drivers for it.
To update your Intel RST driver through Device Manager, follow these steps:
- Right-click the Start menu and select “Device Manager”
- Expand the “Storage controllers” section
- Right-click your Intel storage controller
- Choose “Update driver”
- Select “Browse my computer for drivers”
- Navigate to your downloaded Intel RST driver folder
The system will then find and install the right driver files. This method often fixes compatibility problems without needing a lot of technical know-how.
Manual Installation via Executable File
If you want more control over the installation, using Intel’s executable file is a good choice. This way, you can make sure you’re installing the exact driver version you want.
The manual installation process is as follows:
- Download the correct Intel RST driver package from Intel’s website
- Find the downloaded executable file (usually a .exe file)
- Double-click the file to start the installation wizard
- Follow the prompts to finish the installation
- Restart your computer when asked
This method lets you see and agree to license agreements. It also gives you access to extra utilities and settings not found in other ways.
Both methods can update your Intel RST drivers on existing Windows systems. Device Manager is easy to use, while manual installation gives you more control.
Verifying Successful Intel RST Driver Installation
Checking your Intel RST driver installation is key to top storage performance. Driver verification makes sure your storage controllers work right. This step stops system crashes and data loss.
Checking Device Manager for Proper Recognition
Open Device Manager by right-clicking the Start menu. Then, select it from the options. Look in the “Storage controllers” section for your Intel RST drivers.
A good installation shows no warning icons or error symbols. Look for “Intel(R) Rapid Storage Technology” or similar names. No yellow exclamation marks mean everything is recognised well. This is the first part of your driver verification.
Confirming RAID or AHCI Mode Functionality
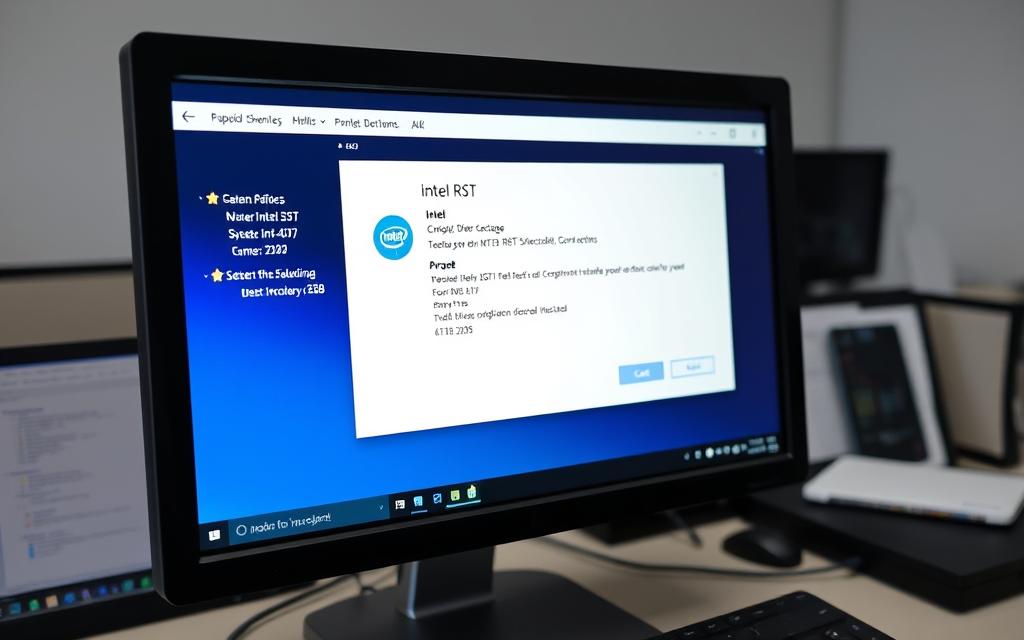
If you have RAID, open the Intel Rapid Storage Technology app. It’s in your system tray or Start menu. The app should show your RAID array details.
Make sure all drives are healthy and the array is in good shape. For AHCI mode, check if Native Command Queuing works. This shows your system is stable and working well.
You can also check storage mode in System Information. Look under “IDE Channel” descriptions. Good RAID functionality means your storage system works as expected.
Troubleshooting Common Installation Issues
Even with careful preparation, you might still face challenges when installing Intel RST drivers via USB. Knowing these common problems and their solutions can save you a lot of time and frustration. This is especially true during the troubleshooting installation process.
Driver Not Recognised During Windows Setup
When Windows Setup can’t find your driver, it’s often because of file extraction or USB formatting issues. The installer might not see compressed files. So, make sure you’ve extracted the driver folder correctly to your USB drive.
Here’s how to fix recognition problems:
- Reformat your USB drive using FAT32 format
- Extract driver files directly to the root directory
- Check file integrity by verifying SHA checksums
- Try a different USB port, preferably USB 2.0
Compatibility Errors and Version Mismatches
Compatibility errors usually happen when you use the wrong driver version for your hardware. These mistakes can lead to installation failures or system instability after installation.
To avoid version conflicts:
- Double-check your chipset model using Intel’s identification utility
- Download drivers specifically matched to your hardware generation
- Verify driver digital signatures before installation
- Consult Intel’s compatibility matrix for confirmed working versions
Resolving BIOS/UEFI Configuration Problems
Incorrect firmware settings are another common problem. Your storage controller mode must match your driver requirements for successful detection.
Fix BIOS/UEFI issues with these methods:
| Problem | Symptom | Solution |
|---|---|---|
| AHCI/RAID Mode Mismatch | Driver fails to load | Switch controller mode in BIOS |
| Secure Boot Enabled | Driver rejection | Temporarily disable Secure Boot |
| Legacy BIOS Mode | UEFI driver incompatibility | Enable UEFI boot mode |
| CSM Enabled | Installation media issues | Disable Compatibility Support Module |
If you’re still having trouble, try resetting your BIOS to its default settings. This often fixes subtle configuration conflicts that might otherwise go unnoticed.
Conclusion
Installing the Intel RST driver via USB is key for boosting your system’s storage. It makes sure NVMe drives and RAID setups work their best. This leads to quicker data access and better reliability.
By following this guide, you can avoid common problems. It covers everything from downloading the right driver to setting up BIOS/UEFI. This ensures your hardware is recognised and your system stays stable.
If you run into trouble, check the troubleshooting section or Intel’s official help. A well-installed Intel Rapid Storage Technology driver improves performance. It works great for new setups and existing systems alike.
FAQ
What is Intel Rapid Storage Technology (RST)?
Intel Rapid Storage Technology is a software that boosts storage performance and reliability. It supports RAID and AHCI modes, especially for NVMe drives or multiple devices. It also improves data protection, speed, and system responsiveness.
Why would I need to install the Intel RST driver via USB?
You need to install the Intel RST driver via USB if your system doesn’t recognise the storage drive during Windows setup. This is common with NVMe drives or RAID setups. Using a USB ensures the driver is available when needed, making installation smooth.
What are the prerequisites for installing the Intel RST driver via USB?
You’ll need a USB drive with at least 4GB of storage and another computer to download the driver. Make sure you have the correct Intel RST driver version (e.g., version 17.5 or newer). Also, check your system’s chipset and storage configuration for compatibility.
How do I identify my Intel chipset model?
To find your Intel chipset model, open Device Manager or System Information. In Device Manager, look for “Intel Chipset” under “System devices”. You can also use system information tools or check your motherboard’s specifications on the manufacturer’s website.
Where can I download the correct Intel RST driver?
You can download the correct Intel RST driver from the Intel Download Centre or your system manufacturer’s support page (e.g., Dell, HP). Make sure to select the driver that matches your chipset model and operating system architecture (e.g., x64 for 64-bit systems).
How should I prepare my USB drive for the driver installation?
Choose a USB drive with at least 4GB capacity and format it to FAT32 or NTFS. Use the extract option—not install—when handling the downloaded driver .exe file. This ensures the driver is accessible during Windows installation.
What BIOS/UEFI settings need to be configured?
Access your BIOS/UEFI by pressing a key like F2 or Delete during boot. Enable AHCI or RAID mode under storage settings. Also, adjust the boot priority to allow booting from USB. These changes are crucial for the system to recognise and load the driver from the USB during installation.
How do I load the Intel RST driver during Windows setup?
Boot from your Windows installation media, and when prompted for additional drivers, insert the USB drive. Browse to the extracted driver folder on the USB (e.g., containing iaStorAC.inf) and select the appropriate driver to load. This allows Windows to recognise your storage drive and continue with the installation.
Can I install the Intel RST driver on an already installed Windows system?
Yes, you can install the Intel RST driver on an existing Windows system. Use Device Manager to update drivers automatically or manually run the downloaded executable file. This method is suitable if the driver was missed during initial setup or if you’re reconfiguring storage settings post-installation.
How do I verify that the Intel RST driver was installed successfully?
Check Device Manager for storage controllers; there should be no warning icons, and the Intel RST controller should be listed. You can also use the Intel Rapid Storage Technology software or system properties to confirm that RAID arrays or AHCI modes are functioning correctly.
What should I do if the driver is not recognised during Windows setup?
If the driver is not recognised, ensure the USB drive is properly formatted and the driver files were extracted correctly—not installed. Also, verify that the correct driver version was downloaded and that the USB port is functional. Repeating the extraction process or trying a different USB port may resolve the issue.
What are common compatibility errors, and how can I fix them?
Common compatibility errors include version mismatches, where the wrong driver is selected for your chipset or OS. Always double-check your hardware specifications and download the appropriate driver. If issues persist, consult the Intel support page or your system manufacturer for guidance.
How can I resolve BIOS/UEFI configuration problems?
Ensure that AHCI or RAID mode is enabled in BIOS/UEFI settings and that the boot order prioritises USB devices if needed. If problems continue, reset BIOS settings to default and reconfigure them, or update your BIOS/UEFI firmware to the latest version for better compatibility.
Is it necessary to use a specific version of the Intel RST driver?
Yes, using the correct version—such as 17.5 or newer—is crucial for compatibility with modern systems and NVMe drives. Always download the driver that matches your chipset and Windows version to avoid installation failures or performance issues.
Can I use this method for systems with older SATA drives?
While the guide focuses on NVMe and RAID configurations, the process can also apply to older SATA drives if the Intel RST driver is required for enhanced performance or RAID support. Always check your system’s requirements to determine if the driver is necessary.
